Internationalization & Sidebar
AI-generated summary
This article introduces how to set up internationalization support and automatically generate a sidebar in VitePress. First, configure the multilingual folders and files, then set the language options in config.mts. Next, install and configure the vitepress-sidebar plugin to automatically generate the sidebar, and achieve indentation for sub-items by modifying the CSS.
Internationalization Settings
Configure Folders and Files
Refer to the official documentation for configuration. I have set up three languages:
- Traditional Chinese (root)
- English
- Japanese
docs/
├─ en/
│  ├─ foo.md
├─ jp/
│  ├─ foo.md
├─ foo.md
Configure config
Add the settings in docs/.vitepress/config.mts
export default defineConfig({
  // ...
  locales: {
    root: {
      lang: "zh-TW",
      label: "繁體中文",
      themeConfig: {
        nav: [
          { text: "Home", link: "/" },
          { text: "Notes", link: "/notes/vitepress", activeMatch: "^/notes" },
        ],
      },
    },
    en: {
      lang: "en-US",
      label: "English",
      themeConfig: {
        nav: [
          { text: "Home", link: "/en" },
          { text: "Notes", link: "/en/notes/vitepress", activeMatch: "^/en/notes" },
        ],
      },
    },
    jp: {
      lang: "ja-JP",
      label: "日本語",
      themeConfig: {
        nav: [
          { text: "Home", link: "/jp" },
          { text: "Notes", link: "/jp/notes/vitepress", activeMatch: "^/jp/notes" },
        ],
      },
    },
  },
  // ...
})
Sidebar Settings
Although you can manually set the Sidebar path like in the official documentation, it is not practical to manually sync every time you add or modify files. Therefore, I chose to let it be automatically generated.
Install VitePress Sidebar
npm i -D vitepress-sidebarConfigure config
Add the settings in docs/.vitepress/config.mts
import type { DefaultTheme, UserConfig } from "vitepress"
import { defineConfig } from "vitepress"
import { withSidebar } from "vitepress-sidebar"

const vitePressConfigs = {
  title: "miksinote",
  // ...
} satisfies UserConfig<DefaultTheme.Config>

export default defineConfig(withSidebar(vitePressConfigs, [{
  documentRootPath: "/docs",
  scanStartPath: "notes",
  resolvePath: "/notes/",
  useTitleFromFileHeading: true,
  useFolderLinkFromIndexFile: true,
  useFolderTitleFromIndexFile: true,
}, {
  documentRootPath: "/docs",
  scanStartPath: "/en/notes",
  resolvePath: "/en/notes/",
  basePath: "/",
  useTitleFromFileHeading: true,
  useFolderLinkFromIndexFile: true,
  useFolderTitleFromIndexFile: true,
}, {
  documentRootPath: "/docs",
  scanStartPath: "/jp/notes",
  resolvePath: "/jp/notes/",
  basePath: "/",
  useTitleFromFileHeading: true,
  useFolderLinkFromIndexFile: true,
  useFolderTitleFromIndexFile: true,
}]))
Using withSidebar, settings were made for the three languages respectively, where resolvePath and basePath are quite important. I wasn't entirely sure how it works, but through trial and error, I found a configuration that works correctly.
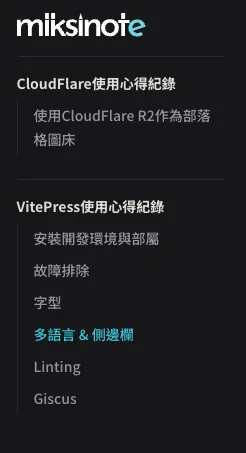
After restarting the dev server, you can see the sidebar displayed correctly!
npm run docs:devYou can try switching languages to see if it works correctly.
Configure CSS
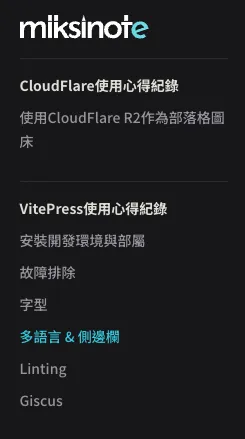
The sidebar is displayed, but there is a problem: the main items and sub-items are on the same level. I want the sub-items to be indented, like this:
Fortunately, the official documentation provides a way to modify it.
Add the settings in docs/.vitepress/theme/style.css
/**
* Component: Sidebar
* -------------------------------------------------------------------------- */
.group .VPSidebarItem.level-0 .items {
padding-left: 16px !important;
border-left: 1px solid var(--vp-c-divider);
border-radius: 2px;
transition: background-color 0.25s;
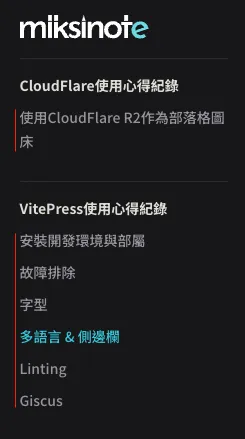
}You can see the correct indentation.