Building a URL Shortening Service with Cloudflare Pages and Astro
AI-generated summary
In this article, we will introduce how to build a URL shortening service using Cloudflare Pages and Astro. This article covers environment setup, integration of Astro and Cloudflare, setting up Cloudflare KV, and implementing and deploying pages. By following these steps, you will be able to build a fully functional URL shortening service.
Prerequisite
- Docker
- VSCode
- Cloudflare account
Setup Environment
I use VSCode dev container
Press F1 in VSCode
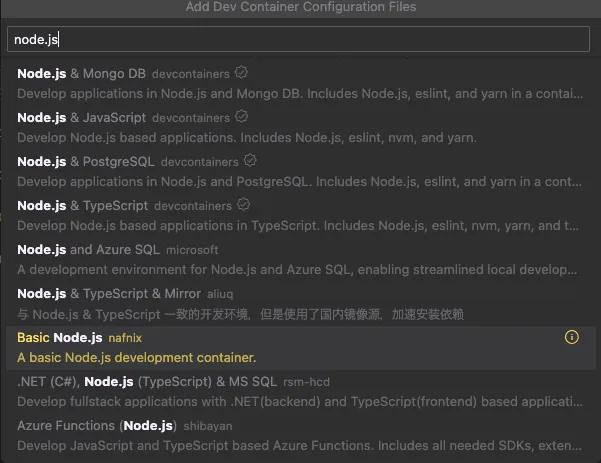
Select Dev Containers: Add Dev Container Configuration Files...
Choose a node.js environment:
Here are the devcontainer.json and Dockerfile I used
{
  "name": "Untitled Node.js project",
  "build": {
    "dockerfile": "Dockerfile"
  },
  "remoteUser": "node",
  "features": {
    "ghcr.io/devcontainers/features/common-utils:2": {}
  },
  "forwardPorts": [
    4321, // for astro dev server
    8976  // for wrangler login
  ],
  "customizations": {
    "vscode": {
      "extensions": [
        "astro-build.astro-vscode",
        "svelte.svelte-vscode",
        "dbaeumer.vscode-eslint",
        "GitHub.copilot",
        "GitHub.copilot-chat"
      ]
    }
  }
}
The forwardPorts are needed for development later
FROM node:22

# Install basic development tools
RUN apt update && apt install -y less man-db sudo

# Ensure default `node` user has access to `sudo`
ARG USERNAME=node
RUN echo $USERNAME ALL=\(root\) NOPASSWD:ALL > /etc/sudoers.d/$USERNAME \
    && chmod 0440 /etc/sudoers.d/$USERNAME

# Set `DEVCONTAINER` environment variable to help with orientation
ENV DEVCONTAINER=true
For other VSCode dev containers, you can refer to another article
Setting up Astro
After entering the container, use the official tool to generate Astro files
npm create astro@latest

# dir   Where should we create your new project?
#        ./astro

# tmpl   How would you like to start your new project?
#        A basic, minimal starter

# deps   Install dependencies?
#        Yes

#  git   Initialize a new git repository?
#        Yes
The generated files are in the /astro folder, I moved all the contents out
mv astro/* .
rm -rf astro
Try to start the dev server, you should see the initial screen
npm run dev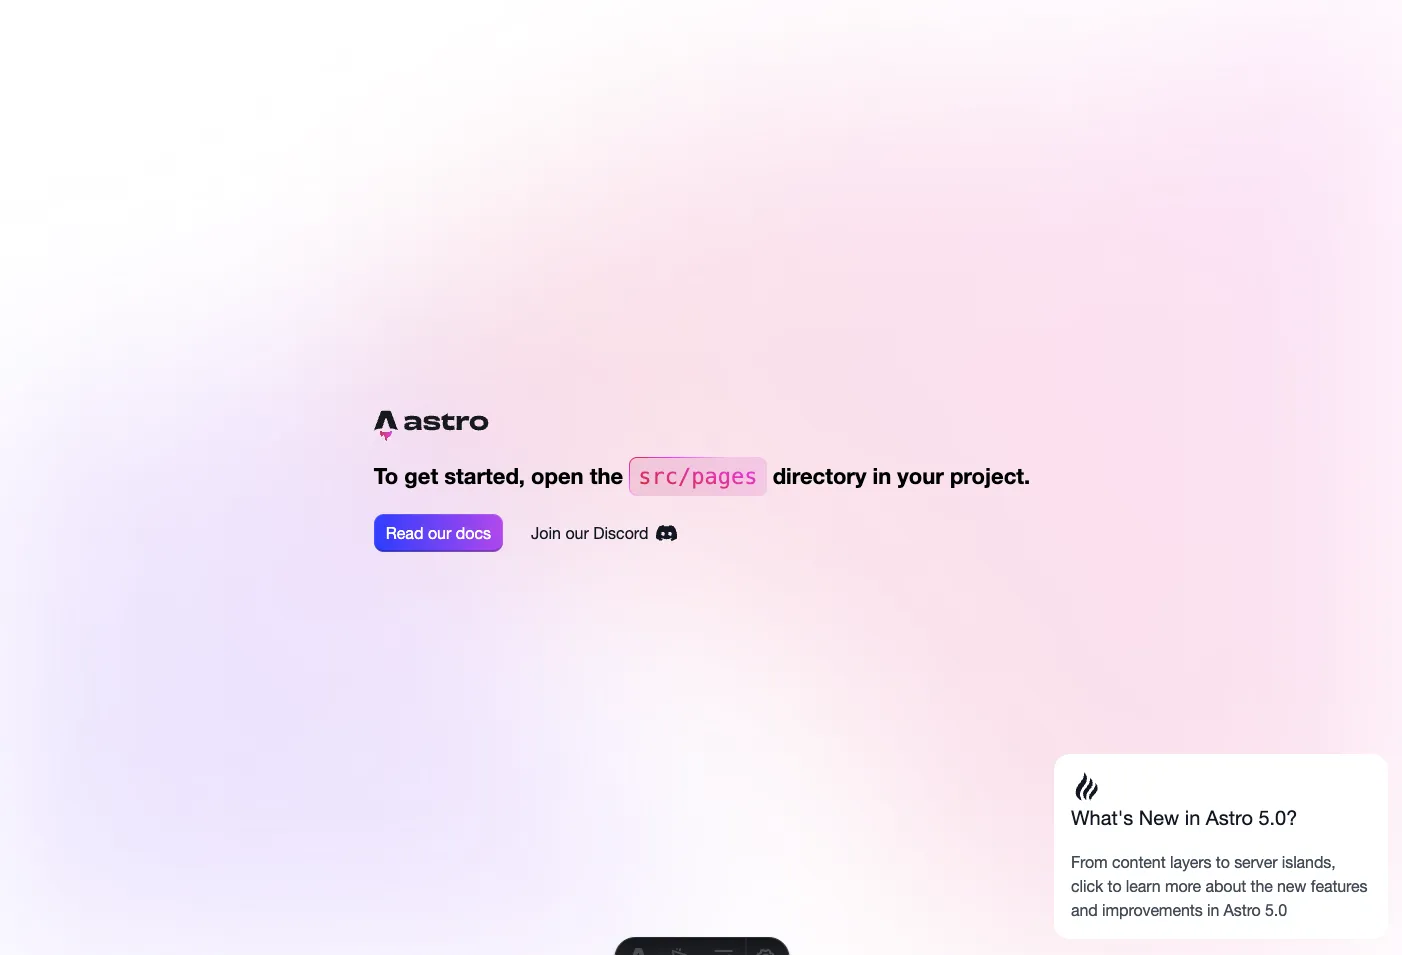
Cloudflare Integration
Add Cloudflare integration
npx astro add cloudflareIt should automatically configure the files for us, but we still need to add some settings:
export default defineConfig({
  output: "server",
  adapter: cloudflare({
    platformProxy: {
      enabled: true,
    },
  }),
})
Our URL shortening service is not a purely static website, so set output: 'server' to make Astro default to SSR
The platformProxy.enabled is to allow us to use Cloudflare features locally
For more details, refer to the official documentation
Setting up Cloudflare KV
Our URL shortening service needs to store short and URL key-value pairs, here we use Cloudflare KV
Login to wrangler
wrangler is Cloudflare's official tool, let's log in first
npx wrangler loginIt should pop up a browser, but it won't automatically pop up in the dev container, we need to manually copy the URL and paste it into the browser

After agreeing, the page will try to redirect back to port 8976, which may fail
But we have already opened this port in devcontainer.json, so it should log in successfully
Create KV Namespace
Create a namespace to store our data, name it SHORT_TO_URL
npx wrangler@latest kv:namespace create SHORT_TO_URLYou should get an ID from the terminal, add it to wrangler.toml
[[kv_namespaces]]
binding = "SHORT_TO_URL"
id = "[YOUR ID HERE]"
To make the development environment recognize SHORT_TO_URL, add env.d.ts
/// <reference types="astro/client" />

type KVNamespace = import("@cloudflare/workers-types").KVNamespace;
type ENV = {
  SHORT_TO_URL: KVNamespace;
};

// use a default runtime configuration (advanced mode).
type Runtime = import("@astrojs/cloudflare").Runtime<ENV>;
declare namespace App {
  interface Locals extends Runtime {}
}
Refer to the official documentation
A .wrangler folder appeared, it seems unnecessary to add it to version control, add it to .gitignore:
.wrangler/Implementing Pages
I have three endpoints:
src/pages/index.astro- Home page. Static, prepare a form for users to input URL and submit
src/pages/shorten.ts- Receive URL and return the shortened slug
src/pages/[slug].ts- Receive slug and redirect to the stored URL
src/pages/index.astro
This page basically needs an interactive form, it doesn't need to be SSR, we add prerender = true to specify
Refer to here
---
export const prerender = true;
---
I use Svelte to implement the form
npx astro add svelteThe CSS part is omitted, the main thing to note is that in index.astro, we need to specify the component as client:load to make it interactive
<Form client:load />The form content is similar to normal front-end implementation, refer to GitHub
src/pages/shorten.ts
This endpoint is used to receive the URL and return the shortened slug
I use md5 encryption, so install the package first:
npm i -S js-md5After calculating the slug, we can get the previously set SHORT_TO_URL from locals
import type { APIRoute } from "astro"
import { md5 } from "js-md5"

const charset = "abcdefghijklmnopqrstuvwxyzABCDEFGHIJKLMNOPQRSTUVWXYZ0123456789"

export const POST: APIRoute = async ({ request, locals }) => {
  try {
    const body = await request.json()
    const url = new URL(body.url)
    let hashed = Number.parseInt(md5.hex(url.href), 16)
    let slug = ""
    for (let i = 0; i < 6; i++) {
      slug += charset[hashed % charset.length]
      hashed = Math.floor(hashed / charset.length)
    }
    const { SHORT_TO_URL } = locals.runtime.env
    await SHORT_TO_URL.put(slug, url.href)
    return new Response(JSON.stringify({ slug }))
  }
  catch (e) {
    return new Response(JSON.stringify({ error: "Invalid URL" }), { status: 400 })
  }
}
src/pages/[slug].ts
This endpoint needs to handle the received slug, query the previously stored URL, and provide redirection
import type { APIRoute } from "astro"

export const GET: APIRoute = async ({ params, locals, redirect }) => {
  const slug: string = params.slug ?? ""
  const { SHORT_TO_URL } = locals.runtime.env
  const url = await SHORT_TO_URL.get(slug)
  if (!url) {
    return new Response(JSON.stringify({ error: "Not found" }), { status: 404 })
  }
  return redirect(url, 301)
}
Deployment
We can set the build and deploy commands in package.json
{
  "scripts": {
    // ...
    "deploy": "astro build && wrangler pages deploy",
  }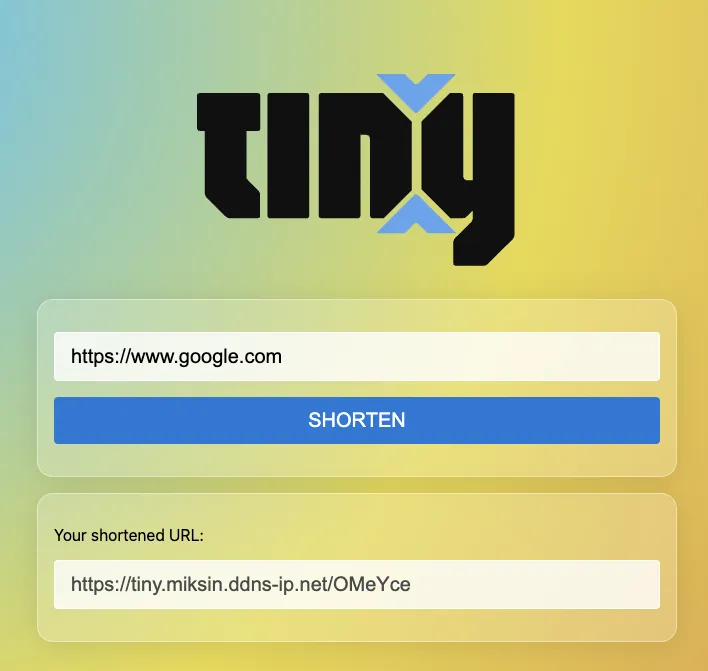
}npm run deploySuccess! But my domain name is too long, it didn't shorten at all 🙃
Questions
I originally set it to use the deploy feature included in Cloudflare Pages, but using only this feature does not automatically generate a worker. That means only static pages are deployed successfully (404 will be displayed for others)
It seems that only using wrangler pages deploy from local works