Using CloudFlare R2 for Blog Image Hosting
AI-generated summary
This article introduces how to use CloudFlare R2 as a blog image hosting service, including steps to convert images to webp format, create a bucket, set up a custom domain, upload images using rclone, and provides installation and configuration guides for related tools.
This article is mainly based on this post.
Convert Images to WebP
Before officially uploading images, convert them to WebP format.
Install webp
Mac
brew install webpUbuntu
sudo apt install webpConvert Image Files to WebP
Convert a specific PNG file to WebP
cwebp -q 80 input.png -o output.webpOr convert all PNG files in a directory by creating png_to_webp.sh
#!/bin/bash

# Directory containing PNG files
input_dir=$1

# Quality for WebP conversion
quality=80

# Check if input directory is provided
if [ -z "$input_dir" ]; then
  echo "Usage: $0 <input_directory>"
  exit 1
fi

# Convert each PNG file in the directory to WebP
for file in "$input_dir"/*.png;
do
  if [ -f "$file" ]; then
    output_file="${file%.png}.webp"
    cwebp -q $quality "$file" -o "$output_file"
    echo "Converted $file to $output_file"
  fi
donechmod +x png_to_webp.sh
./png_to_webp.sh /path/to/png/filesStart Using CloudFlare R2
Prerequisite
- Custom domain must be hosted by CloudFlare
Create a Bucket
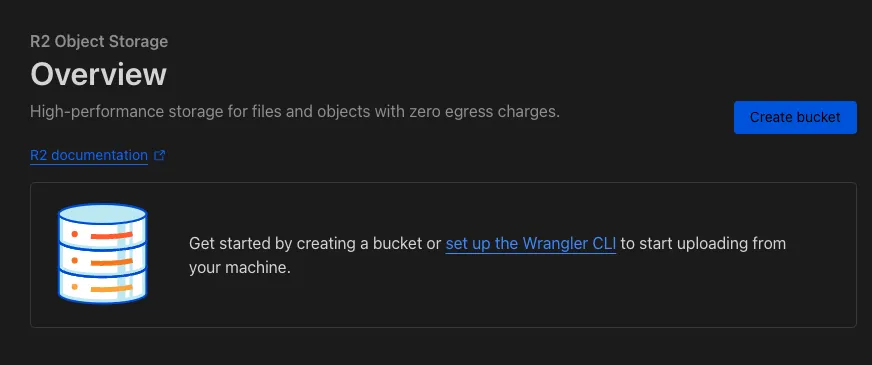
Go to the CloudFlare dashboard and navigate to the R2 page from the left sidebar.
Click Create Bucket.
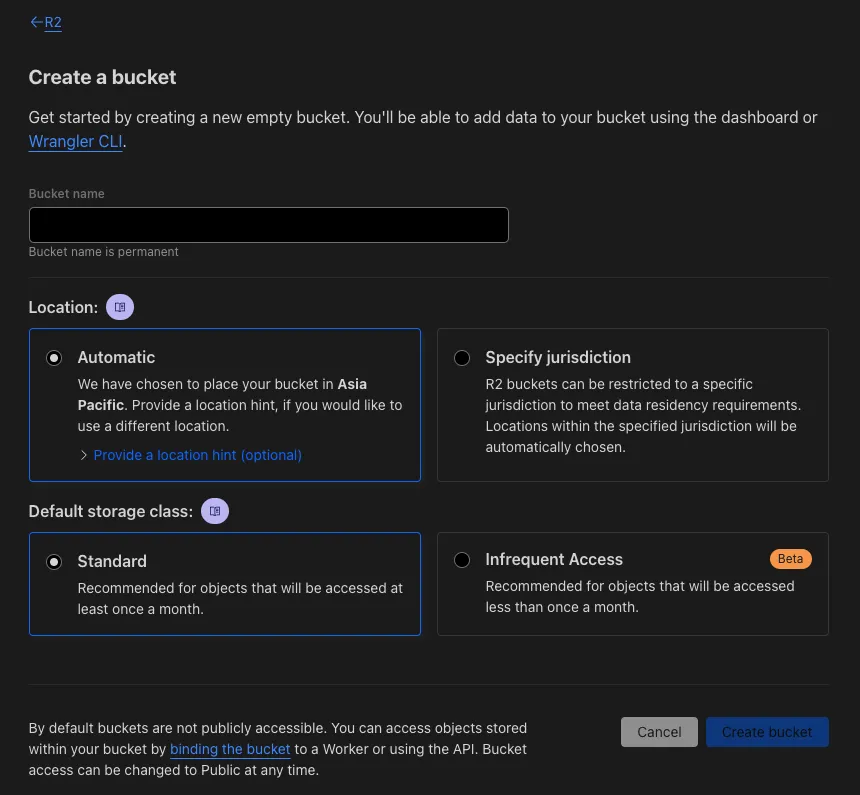
Enter the bucket name and create a new bucket.
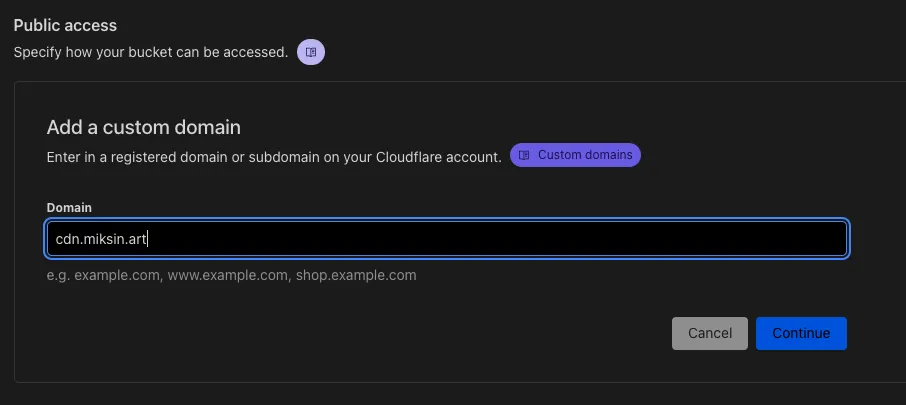
Specify the custom domain in the settings.
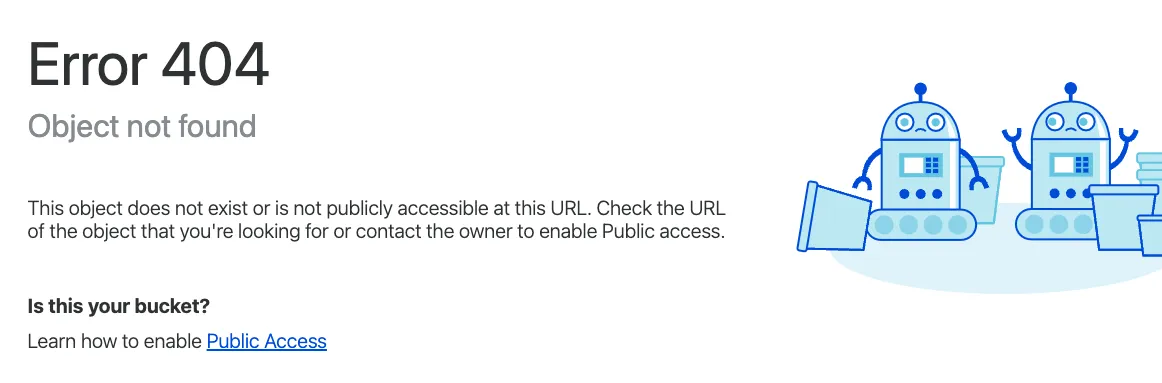
After a short wait, you can try accessing the page directly from the browser at https://cdn.miksin.art/. If you see a 404 error, it means the setup was successful.
Use rclone to Operate R2
Although you can upload files using the R2 web interface, it is not very convenient, and you cannot even create folders. Therefore, use rclone to operate.
Obtain R2 API Token
Go back to the overview screen, click Manage R2 API Tokens on the right, and select Create API Token.

In the settings page, select Object Read & Write.
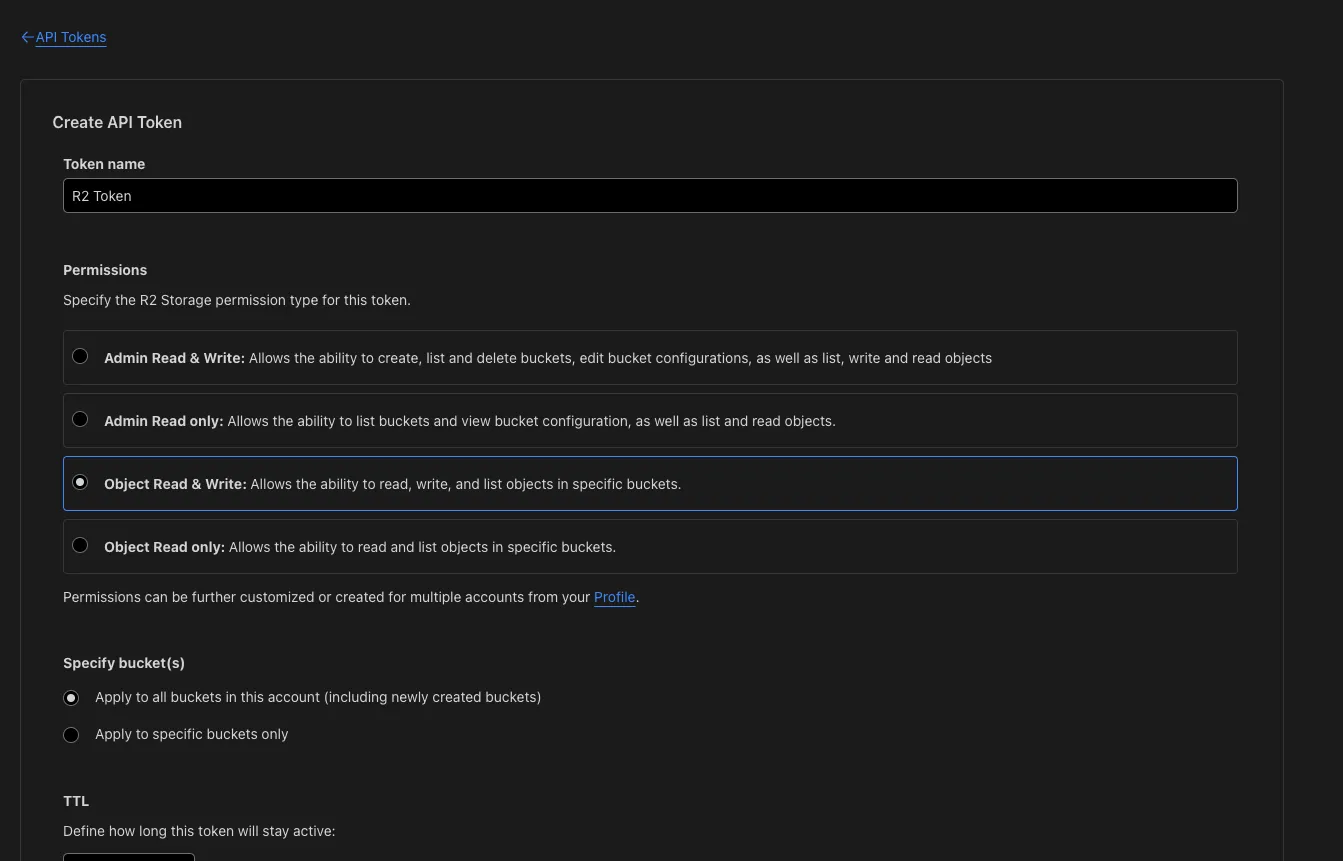
You can choose to operate all buckets or specify a particular bucket by selecting Apply to specific buckets only.
After confirming, you will get information such as access key id. Do not close the page yet, as you will need it later.
Install rclone
Mac
brew install rcloneUbuntu
Fetch and unpack
curl -O https://downloads.rclone.org/rclone-current-linux-amd64.zip
unzip rclone-current-linux-amd64.zip
cd rclone-*-linux-amd64
Copy binary file
sudo cp rclone /usr/bin/
sudo chown root:root /usr/bin/rclone
sudo chmod 755 /usr/bin/rclone
Install manpage
sudo mkdir -p /usr/local/share/man/man1
sudo cp rclone.1 /usr/local/share/man/man1/
sudo mandb
Configure rclone.conf
Edit ~/.config/rclone/rclone.conf and fill in the information obtained from the R2 API Token page.
[cloudflarer2]
type = s3
provider = Cloudflare
access_key_id =
secret_access_key =
endpoint =
acl = private
Upload Images to a Specific Path
Upload all files in this folder to the image placement location for this article /miksinote/img/notes/cloudflare/r2_img_hosting/.
rclone copy -v . cloudflarer2:/cdn/miksinote/img/notes/cloudflare/r2_img_hosting/You can use ls to check the result.
rclone ls cloudflarer2:/cdn31806 miksinote/img/notes/cloudflare/r2_img_hosting/r2_api_permission.webp
25092 miksinote/img/notes/cloudflare/r2_img_hosting/r2_cdn_404.webp
39440 miksinote/img/notes/cloudflare/r2_img_hosting/r2_create_bucket.webp
11374 miksinote/img/notes/cloudflare/r2_img_hosting/r2_custom_domain.webp
9970 miksinote/img/notes/cloudflare/r2_img_hosting/r2_manage_api.webpThen you can insert the path into the .md file.
Done!