字型
AI生成摘要
本文介紹了如何在VitePress中使用Google Fonts,包括選擇字型、獲取嵌入代碼、配置VitePress的head和CSS,以根據語言設定不同的主要字型。
使用Google Fonts
我使用了四種字型
- 英文 Inter
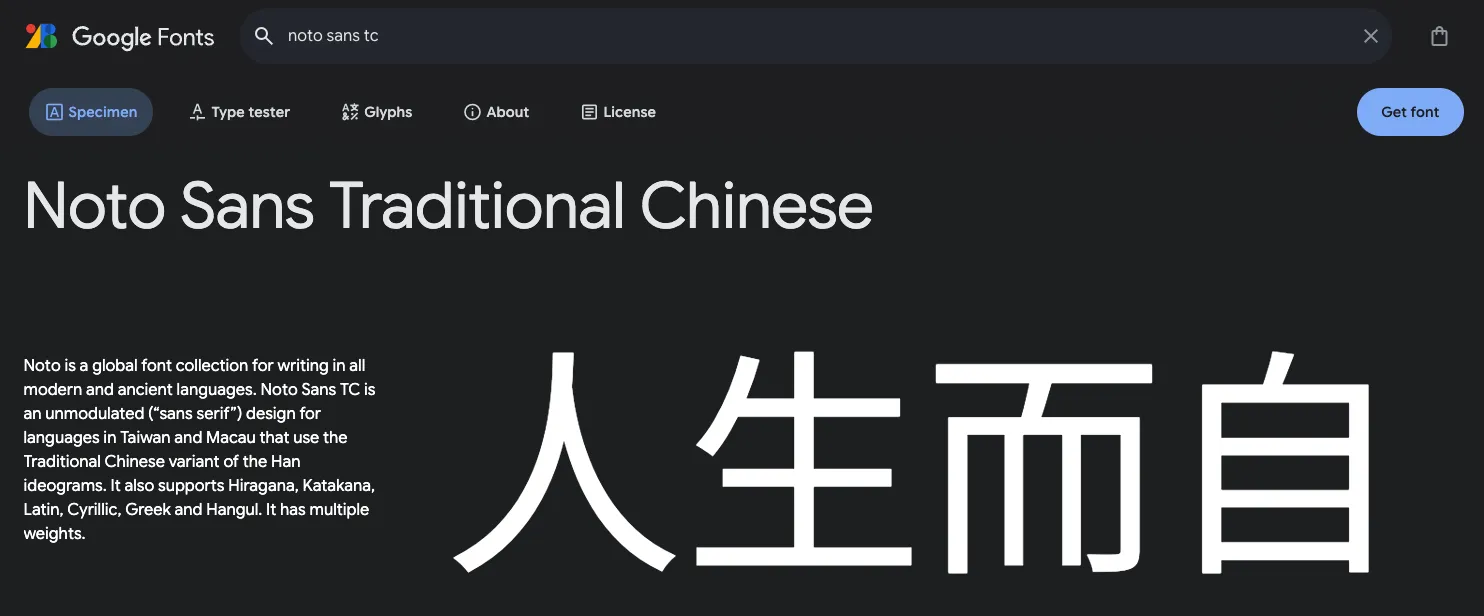
- 中文 Noto Sans TC
- 日文 Noto Sans JP
- 等寬字型 Noto Sans Mono
分別在每個頁面都點選Get Font
需要字型選擇好後點選Get embed code

Embed code in the <head> of your html就是等一下要放進VitePress的部分
<link rel="preconnect" href="https://fonts.googleapis.com">
<link rel="preconnect" href="https://fonts.gstatic.com" crossorigin>
<link href="https://fonts.googleapis.com/css2?family=Inter:ital,opsz,wght@0,14..32,100..900;1,14..32,100..900&family=Noto+Sans+JP:[email protected]&family=Noto+Sans+Mono:[email protected]&family=Noto+Sans+TC:[email protected]&display=swap" rel="stylesheet">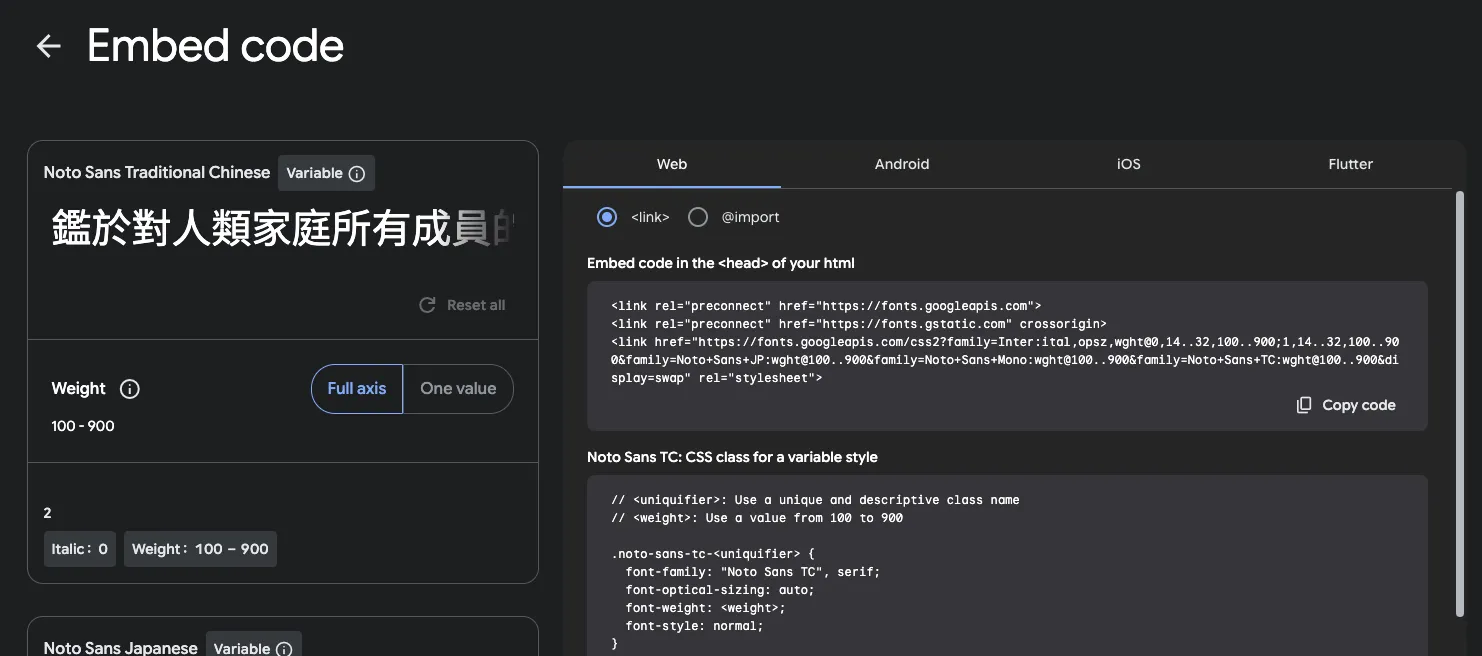
導入VitePress
設定head
將剛才從google fonts複製來的部分修改一下放進docs/.vitepress/config.mts
typescript
export default defineConfig({
  // ...
  head: [
    ["link", { rel: "preconnect", href: "https://fonts.googleapis.com" }],
    ["link", { rel: "preconnect", href: "https://fonts.gstatic.com", crossorigin: "" }],
    [
      "link",
      { href: "https://fonts.googleapis.com/css2?family=Inter:ital,opsz,wght@0,14..32,100..900;1,14..32,100..900&family=Noto+Sans+JP:[email protected]&family=Noto+Sans+Mono:[email protected]&family=Noto+Sans+TC:[email protected]&display=swap", rel: "stylesheet" },
    ],
  ],
  // ...
})
設定css
覆寫docs/.vitepress/theme/style.css
css
:root {
  --vp-font-family-base: var(--main-font-face, "Inter"), ui-sans-serif, system-ui, sans-serif, "Apple Color Emoji",
    "Segoe UI Emoji", "Segoe UI Symbol", "Noto Color Emoji";
  --vp-font-family-mono: "Noto Sans Mono", sans-serif;
}

html[lang="en-US"] {
  --main-font-face: "Inter";
}

html[lang="zh-TW"] {
  --main-font-face: "Noto Sans TC";
}

html[lang="ja-JP"] {
  --main-font-face: "Noto Sans JP";
}
根據語言決定主要字型,有關語言切換設定的部分會在下一篇文章記錄。
用開發者工具檢查一下,成功!
