Vite + Svelte + Tailwind CSS + daisyUI Setup Steps
AI-generated summary
This article introduces how to use Vite, Svelte, Tailwind CSS, and daisyUI to set up a project in a WSL environment and configure the VSCode development environment, including installing relevant extensions and setting up the Prettier formatter.
Environment
- WSL
- Docker Desktop
- VSCode Dev Containers
For steps on using dev containers, refer to this article
Generate Vite Project
I chose to use vite to generate the project.
Select Svelte + TypeScript. To generate the project in the current folder, remember to set Project name to .
npm create vite@latest

# ✔ Project name: … .
# ✔ Select a framework: › Svelte
# ✔ Select a variant: › TypeScript
# Scaffolding project in /home/user/XXX...

# Done. Now run:

#   npm install
#   npm run dev
After generating, follow the instructions to install and start the dev server:
npm install
npm run dev -- --host # for dev containers
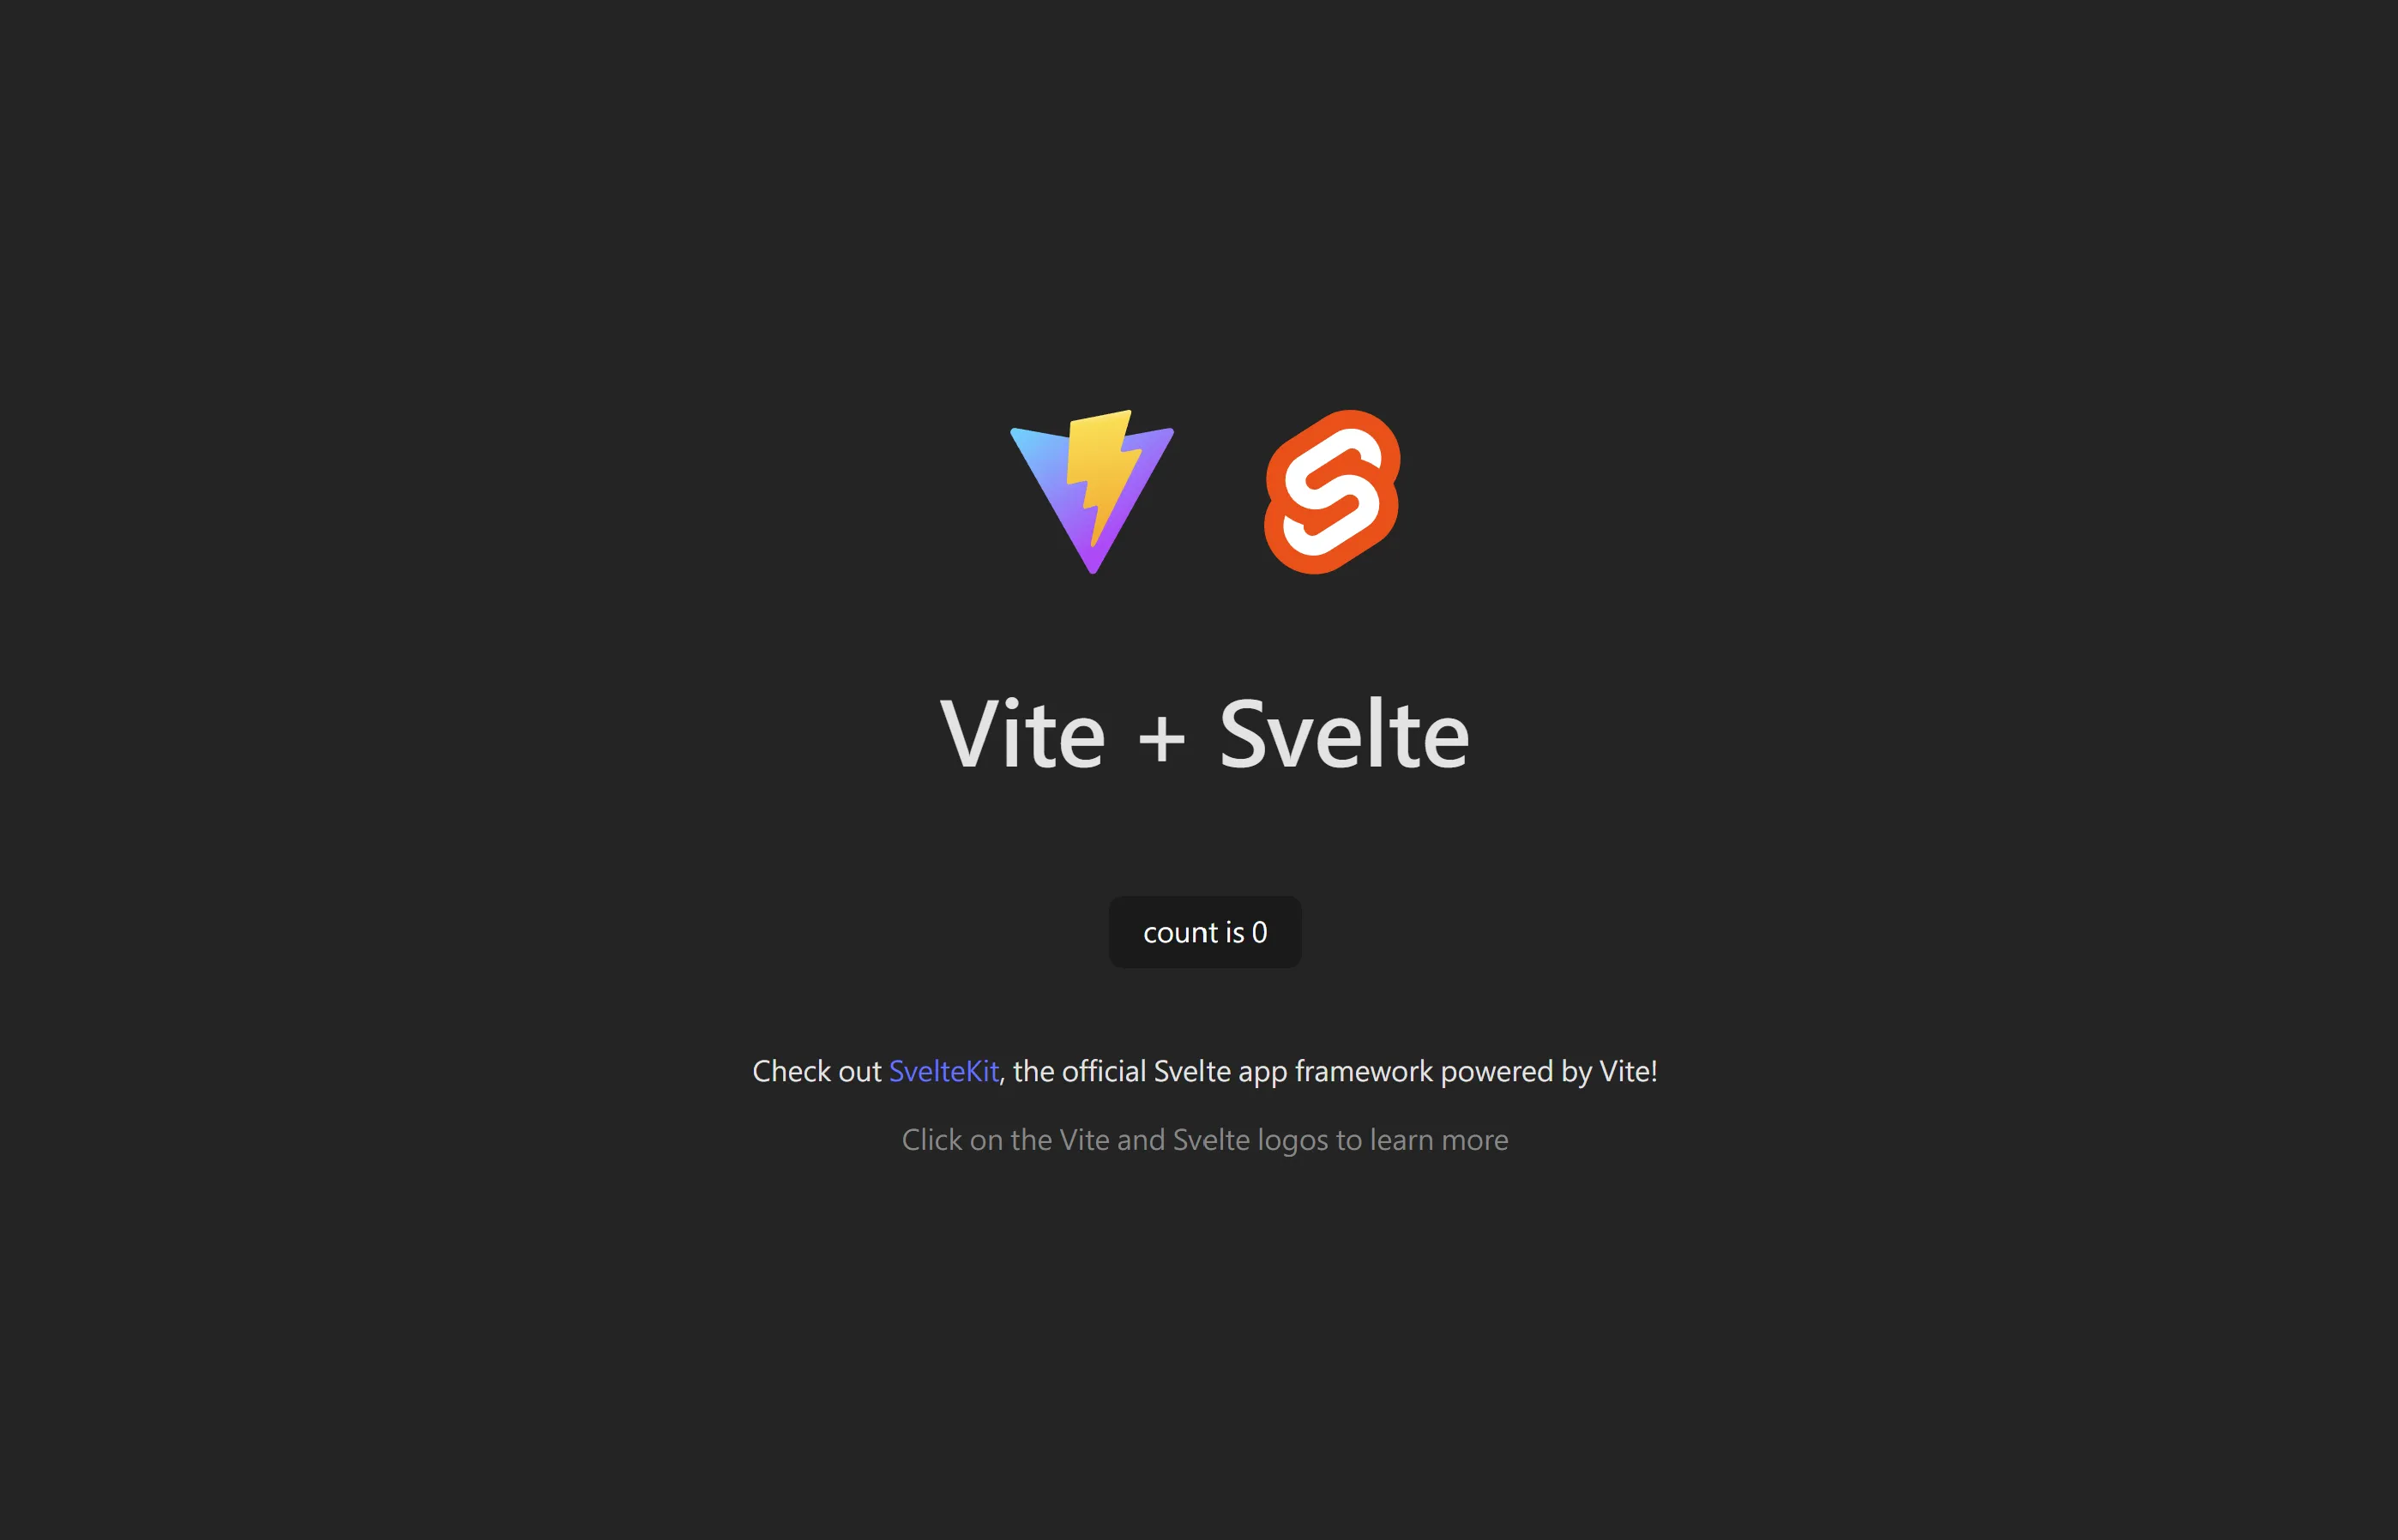
Open the browser to see the initial screen

Configure VSCode
Install Svelte VSCode extension
Add the extension name to .devcontainer/devcontainer.json and rebuild
{
  "customizations": {
    "vscode": {
      "extensions": [
        "svelte.svelte-vscode",
      ]
    }
  }
}
Add TypeScript settings to .vscode/settings.json
{
  "svelte.enable-ts-plugin": true,
}
Install Tailwind CSS
Follow the official documentation to install
npm install -D tailwindcss postcss autoprefixer
npx tailwindcss init
Edit postcss.config.js
module.exports = {
  plugins: {
    tailwindcss: {},
    autoprefixer: {},
  }
}
Edit the generated tailwind.config.js
/** @type {import('tailwindcss').Config} */
export default {
  content: ["./src/**/*.{html,js,svelte,ts}"],
  theme: {
    extend: {},
  },
  plugins: [],
}
Add the settings to src/app.css.
@tailwind base;
@tailwind components;
@tailwind utilities;
Configure VSCode
Install Tailwind CSS VSCode extension
Add the extension name to .devcontainer/devcontainer.json and rebuild
{
  "customizations": {
    "vscode": {
      "extensions": [
        "svelte.svelte-vscode",
        "bradlc.vscode-tailwindcss",
      ]
    }
  }
}
Add CSS association and suggestion settings to .vscode/settings.json
{
  "svelte.enable-ts-plugin": true,
  "files.associations": {
    "*.css": "tailwindcss"
  },
  "editor.quickSuggestions": {
    "strings": "on"
  }
}
After enabling editor.quickSuggestions.strings, Tailwind CSS suggestions will also appear within string quotes ".
Install daisyUI
Follow the steps in the official documentation
npm i -D daisyui@latestEdit tailwind.config.js
/** @type {import('tailwindcss').Config} */
export default {
  content: ["./src/**/*.{html,js,svelte,ts}"],
  theme: {
    extend: {},
  },
  plugins: [require("daisyui")],
}
Done!
Configure Prettier
Tailwind class names can sometimes be very long, using a formatter can make development easier.
Follow the steps in the official documentation
npm install -D prettier prettier-plugin-tailwindcss prettier-plugin-svelteEdit .prettierrc
{
  "plugins": ["prettier-plugin-svelte", "prettier-plugin-tailwindcss"],
  "overrides": [{ "files": "*.svelte", "options": { "parser": "svelte" } }]
}
Run format
npx prettier --write .Configure VSCode
Install Prettier VSCode extension
Add the extension name to .devcontainer/devcontainer.json and rebuild
{
  "customizations": {
    "vscode": {
      "extensions": [
        "svelte.svelte-vscode",
        "bradlc.vscode-tailwindcss",
        "esbenp.prettier-vscode",
      ]
    }
  }
}
Add auto format settings to .vscode/settings.json
{
  "editor.formatOnSave": true,
  "editor.defaultFormatter": "esbenp.prettier-vscode",
  // ...
}